The first thing to know about Magic Grow bag instructions is that there is no single universal walkthrough, because 'Magic Grow bag' refers to several different products.
Magic Grow Bag Instructions: Step-by-Step Setup, Watering & Fixes
Marcus Thornfield
24 Mar 2026
Step one: identify your Magic Grow bag and what it does
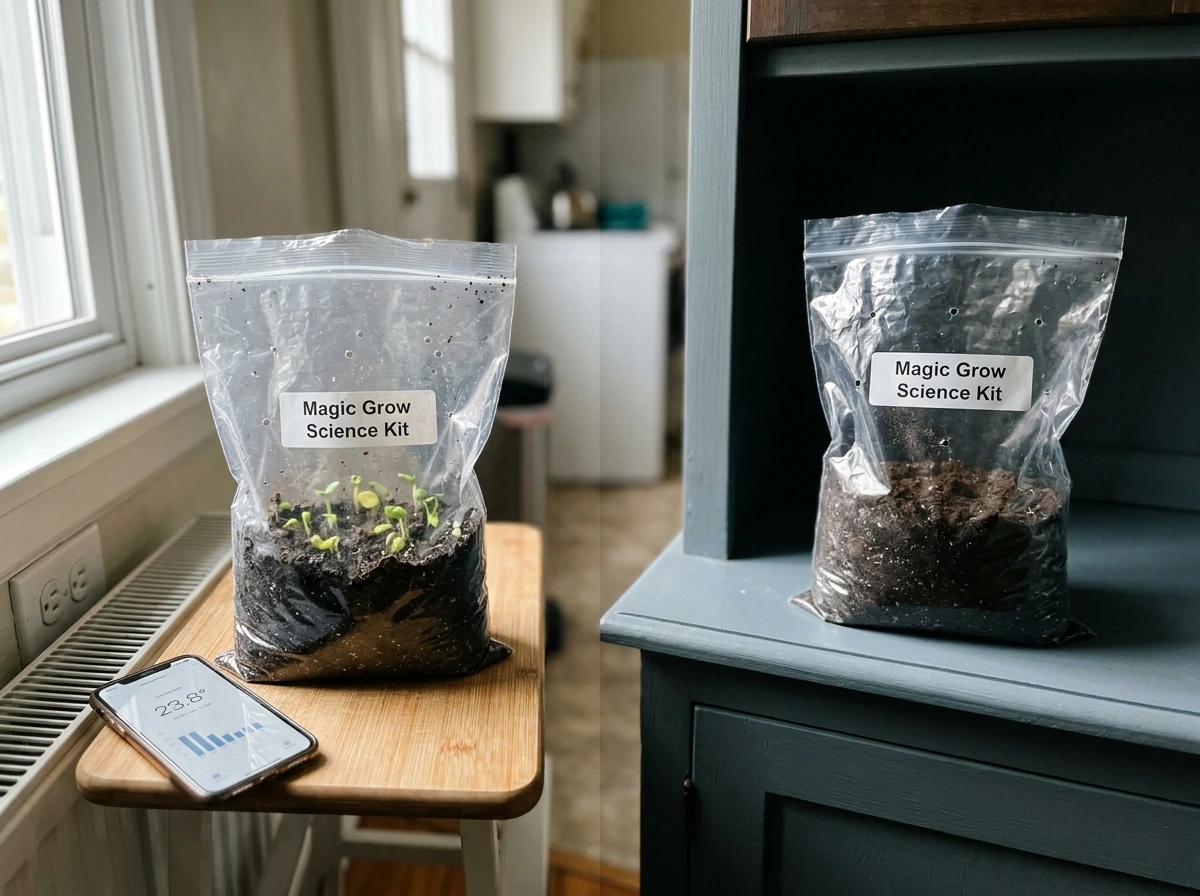
Take a close look at your bag. The brand name, model name, and intended use are almost always printed directly on a label attached to the bag itself. Some bags have a detailed Tyvek instruction label, others have a printed paper insert tucked inside. If yours has a label, that label is your primary source of truth for north spore grow bag instructions, including this one, because measurements and timing can vary between models.
Here are the main types of 'Magic Grow bag' products you might have:
- A soil-based seed-starting and herb/vegetable grow kit (like the GROWinCOCO 'Mediterranean Magic' style, which comes pre-filled with a growing medium and includes seeds for plants like basil, oregano, or tomatoes)
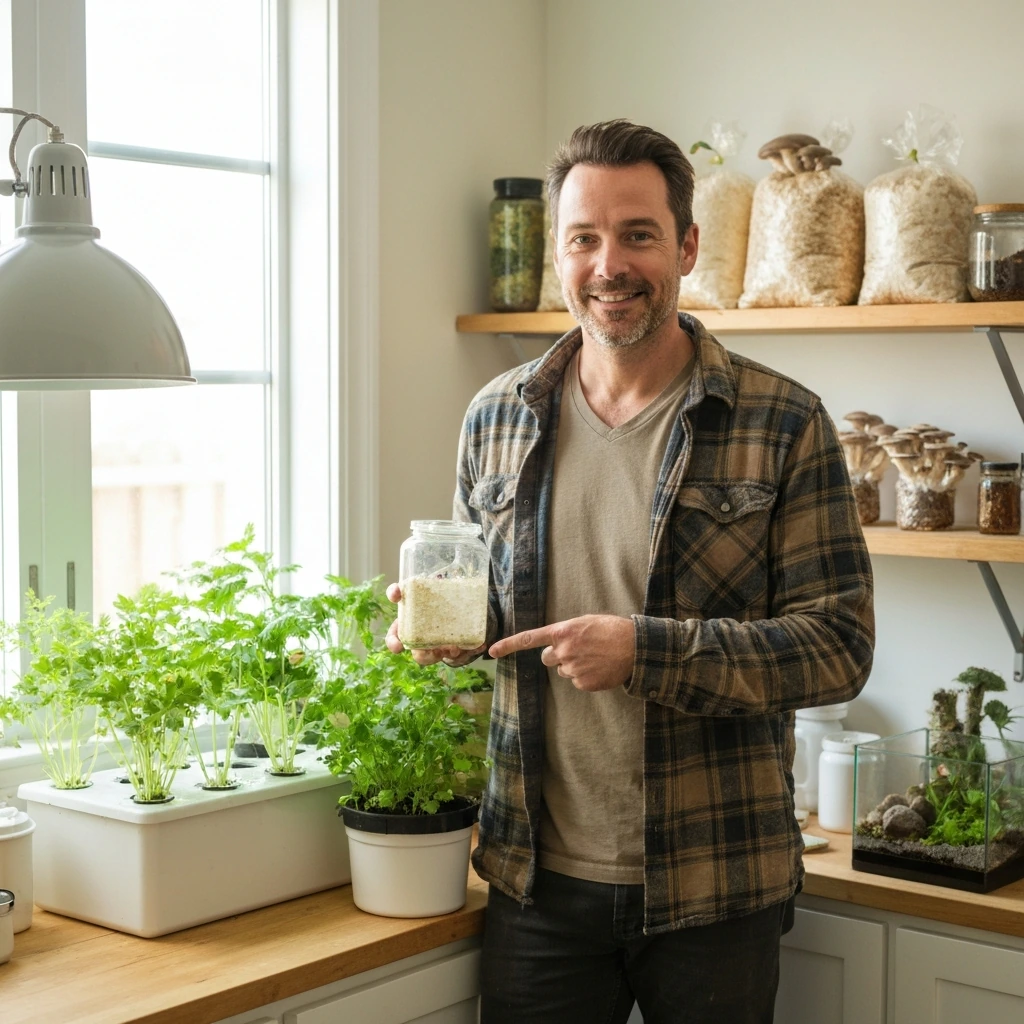
- A mushroom cultivation grow bag (pre-filled with sterilized substrate, inoculated with spores or mycelium, designed for fruiting mushrooms at home)
- A coco coir or peat-based compact grow kit meant for flowers or small edibles
- A novelty 'magic expanding' capsule or tablet kit where compressed soil expands when watered (if this sounds like yours, the instructions are closer to our magic grow capsules guide)
If your bag arrived pre-filled with a dark, earthy, or grain-based substrate and has a self-healing injection port or a filter patch on the side, you almost certainly have a mushroom grow bag. Those kits follow a slightly different path than seed-based kits, and you may also want to check out our walkthroughs for specific mushroom bag brands while you read this guide. Those kits follow a slightly different path than seed-based kits, and you may also want to check out our walkthroughs for specific mushroom bag brands while you read this guide. If your bag contains loose soil or a compressed coir block and came with seed packets, you have a seed-starting or herb/vegetable kit, and this article is your main guide.
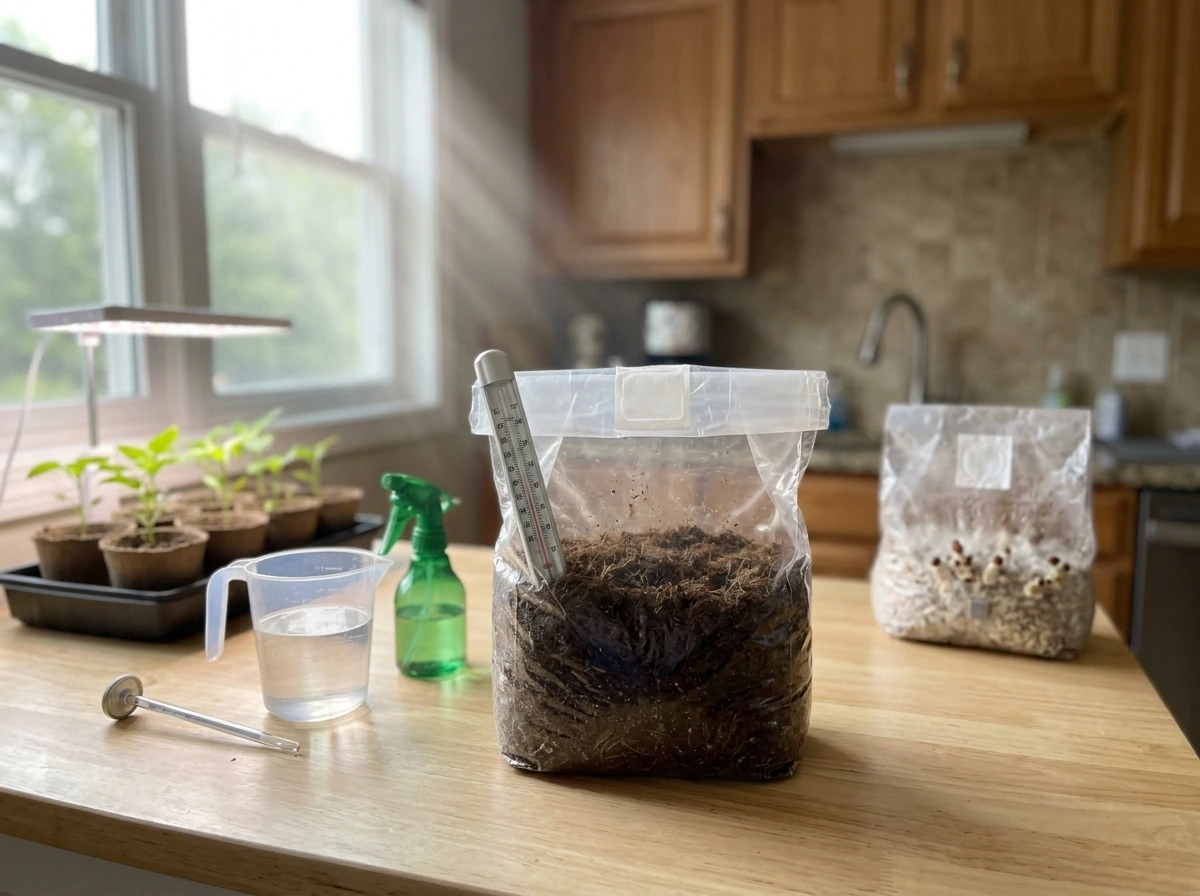
What you need before you start
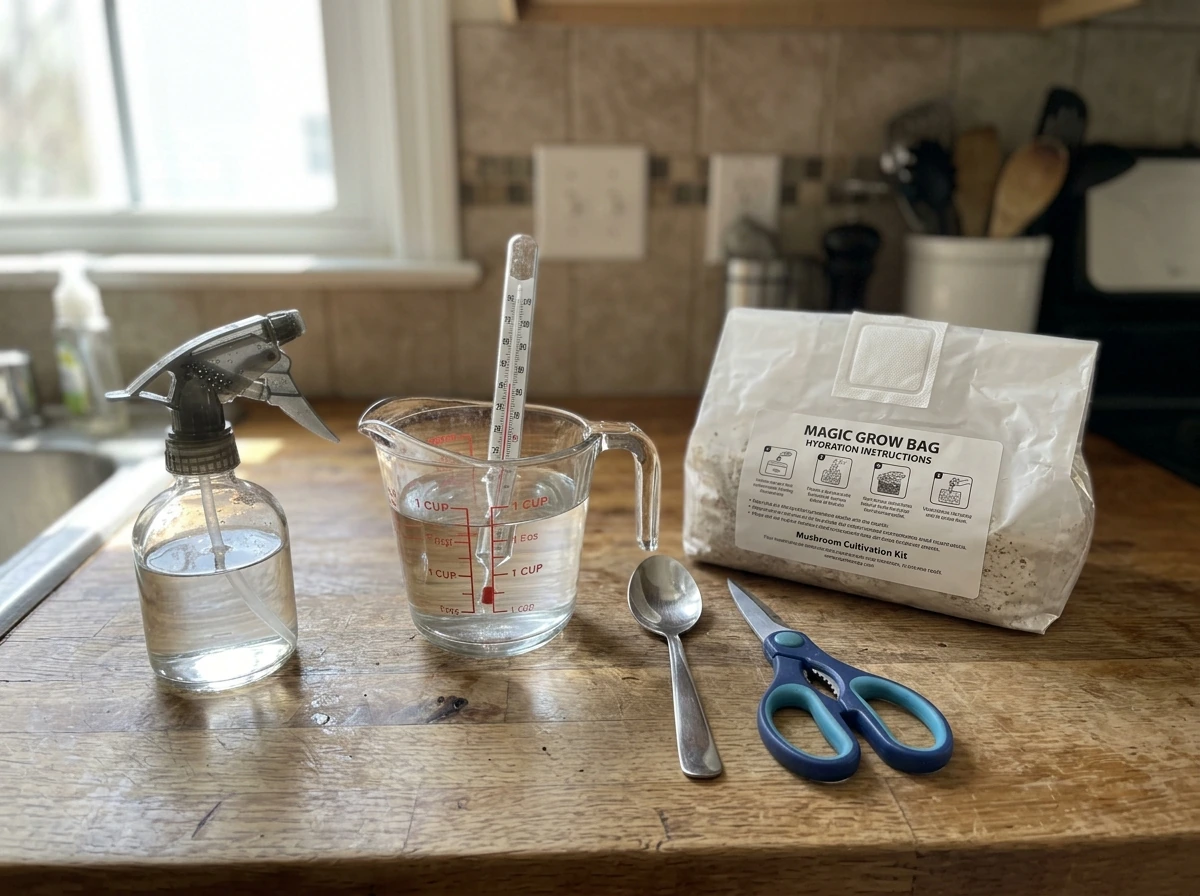
Most Magic Grow bags are designed to be low-supply kits, but there are a few things worth having on hand before you open the bag.
- Lukewarm water (room temperature, around 68 to 72 degrees Fahrenheit, is ideal for activating soil and not shocking seeds or mycelium)
- A measuring cup or small pitcher (precision matters more than you think at the watering stage)
- A clear plastic bag or humidity dome if your kit does not come with one (useful for seed germination)
- A spray bottle for misting, especially for mushroom bags or surface-seeded herbs
- A thermometer if you are growing mushrooms or temperature-sensitive herbs
- A clean surface and clean hands, or gloves for mushroom kits
Location matters before you even open the bag. For seed-starting and herb kits, choose a spot that gets bright indirect light or is close to a south-facing window. Avoid spots with cold drafts, air conditioning vents blowing directly on the bag, or radiators that will dry the surface out within hours. For mushroom bags, you want indirect light and stable temperatures rather than direct sun, and airflow that is gentle rather than stagnant. Pick your spot first, get it ready, and then open the bag.
How to set up and plant your Magic Grow bag
The exact sequence matters here, because doing things out of order (like planting seeds before the medium is hydrated, or opening a mushroom bag too early) is one of the most common reasons these kits stall. Follow these steps in order.
For seed-starting and herb/vegetable kits
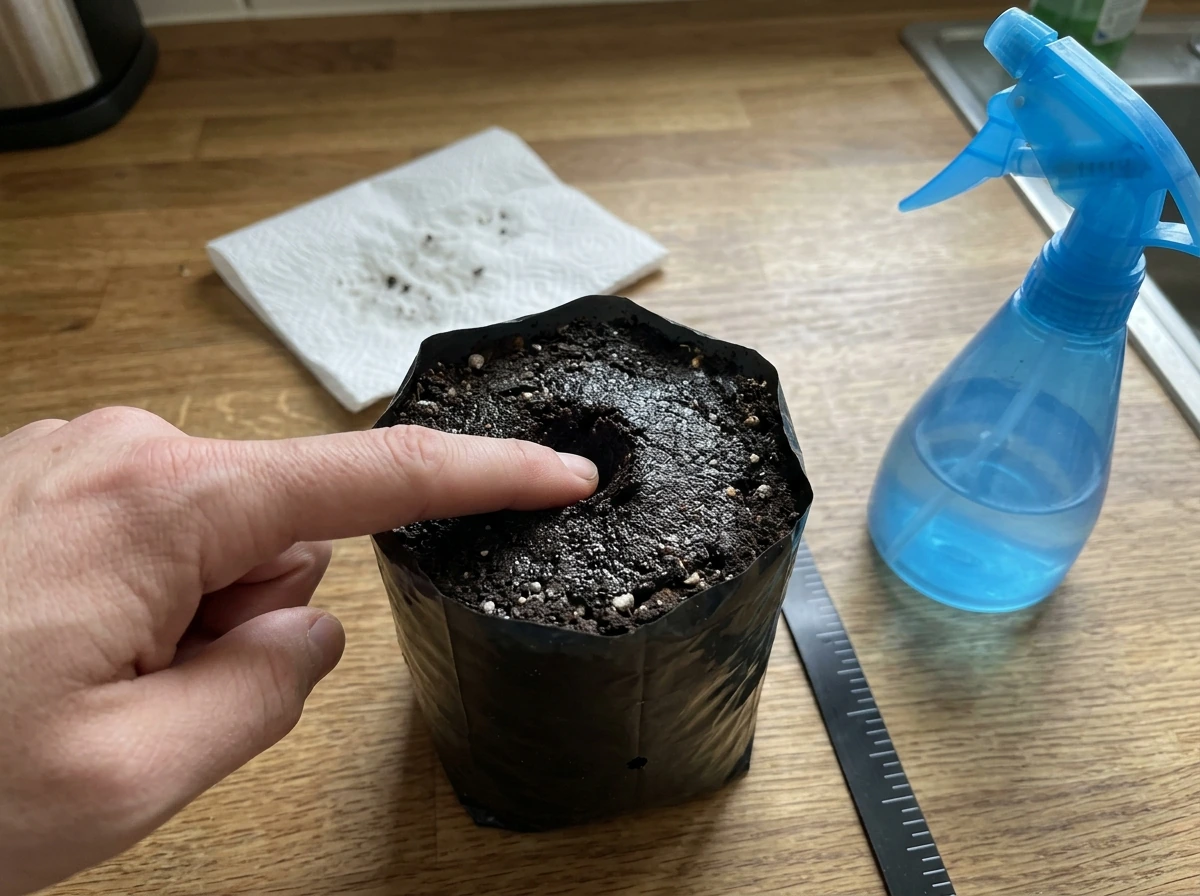
- Open the bag at the top, folding the edges down so you have a stable, open container.
- If the growing medium is compressed or dry, add approximately 325 ml of lukewarm water (roughly 1.3 cups). This is the standard activation amount for compact coir-based kits about the size of a standard grow bag. Check your label for the exact volume for your specific model.
- Wait 5 minutes and let the medium absorb the water fully before touching it. You should see it expand and become uniformly moist.
- Fluff the medium gently with a clean fork or your fingers so there are no dry pockets.
- Scatter or place your seeds according to the packet. For small seeds like basil or oregano, press them about half an inch into the surface. For larger seeds like tomatoes or peppers, follow the depth on the seed packet.
- Mist the surface lightly with a spray bottle after seeding so the top layer is damp, not saturated.
- Loosely cover the top of the bag with plastic wrap, a humidity dome, or the included cover if one was provided. This holds humidity in during germination.
- Place the bag in your chosen warm, bright location.
For mushroom grow bags
- Leave the bag sealed and undisturbed during the colonization phase (when white mycelium spreads through the substrate). This can take 1 to 3 weeks depending on species and temperature.
- Only open the bag once the substrate is visibly colonized, meaning the white fuzzy growth covers at least 80 to 100 percent of the surface.
- When ready to fruit, open the bag at the top or cut it according to your kit's label. This opening signals to the mycelium that it is time to produce mushrooms.
- Mist the exposed surface once or twice daily with clean water from a spray bottle to maintain humidity.
- Do not add soil or additional water in bulk; moisture from misting is sufficient for most mushroom kits.
Watering and feeding: how much, how often, and what to watch
Overwatering is the number one way people kill Magic Grow bag kits. The bags are enclosed, which means water has nowhere to drain, and waterlogged substrate is a fast path to root rot and mold. The goal is consistently moist, not wet.
Seed and herb kits: watering schedule
After the initial hydration during setup, you should not need to water heavily again for several days. Check the surface of the soil daily by pressing a finger about an inch down. If it feels damp, leave it alone. If it feels dry at that depth, add a small amount of water, around 100 to 150 ml, poured slowly around the edges rather than directly onto seedlings. Alternatively, mist the surface lightly. A common beginner mistake is watering on a rigid schedule, like every day no matter what. After the initial hydration during setup, you should not need to water heavily again for several days. Check the surface of the soil daily by pressing a finger about an inch down. If it feels damp, leave it alone. If it feels dry at that depth, add a small amount of water, around 100 to 150 ml, poured slowly around the edges rather than directly onto seedlings. Alternatively, mist the surface lightly. A common beginner mistake is watering on a rigid schedule, like every day no matter what. Instead, water based on what you feel in the soil.
For feeding: most Magic Grow bag kits come with a nutrient-enriched growing medium that sustains seedlings for 4 to 6 weeks without additional fertilizer. Once seedlings are 3 to 4 inches tall and have their second set of true leaves, you can introduce a diluted liquid fertilizer, half the recommended dose on the label, once every 10 to 14 days. Do not fertilize before this stage; young seedlings cannot use it and it can burn roots.
Mushroom bags: moisture management
Mushroom bags do not get fed fertilizer. Their substrate already contains all the nutrients the mushrooms need. Your only job is moisture. Mist the exposed surface once in the morning and once in the evening, or any time the surface looks dry or the pins (tiny baby mushrooms) look like they are shriveling. Do not soak the substrate. If water is pooling inside the bag or dripping off surfaces, you are misting too much.
Light, temperature, and airflow: the environmental targets
| Condition | Seed/Herb Kit Target | Mushroom Bag Target |
|---|---|---|
| Light | 6 to 8 hours of bright indirect light or a grow light 6 to 12 inches above the bag | Indirect ambient light; 8 to 12 hours of low light is fine, no direct sun needed |
| Temperature | 65 to 75°F (18 to 24°C) for germination; 70 to 80°F for active growth | 55 to 75°F (13 to 24°C) depending on species; most kits fruit well at 65 to 72°F |
| Humidity | Keep surface moist; cover during germination to hold humidity | 80 to 95% relative humidity near the bag surface; mist twice daily |
| Airflow | Gentle air circulation; avoid direct fans on seedlings | Fresh air exchange 2 to 4 times daily once the bag is open; stagnant air promotes mold |
For herb and vegetable seed kits, the most practical light setup is a windowsill that gets direct morning sun or a simple LED grow light on a timer. If your seedlings are stretching tall and thin toward the light source (a condition called etiolation), they are not getting enough light. Move them closer to the window or lower your grow light by a few inches.
For mushroom bags, airflow becomes especially important once you open the bag for fruiting. Stagnant, damp air is the main trigger for cobweb mold and other contamination. You do not need a fan blowing directly at the bag, but a gentle daily exchange of fresh air, like briefly opening a nearby window or fanning the bag with a piece of cardboard, makes a real difference. This is one of those steps that seems optional but is not.
When things go wrong: troubleshooting common failures
Seeds are not germinating after 10 to 14 days
First, check soil temperature. Cold soil (below 60°F) is the most common cause of slow or failed germination. Move the bag to a warmer spot or place it on top of a refrigerator or near a heat source. Second, check moisture. If the top inch of soil has dried out since planting, seeds may have dehydrated before sprouting. Mist gently and re-cover with plastic wrap. Third, check whether seeds were planted too deep. Most herb seeds need light to germinate and should barely be covered.
Mold on the surface
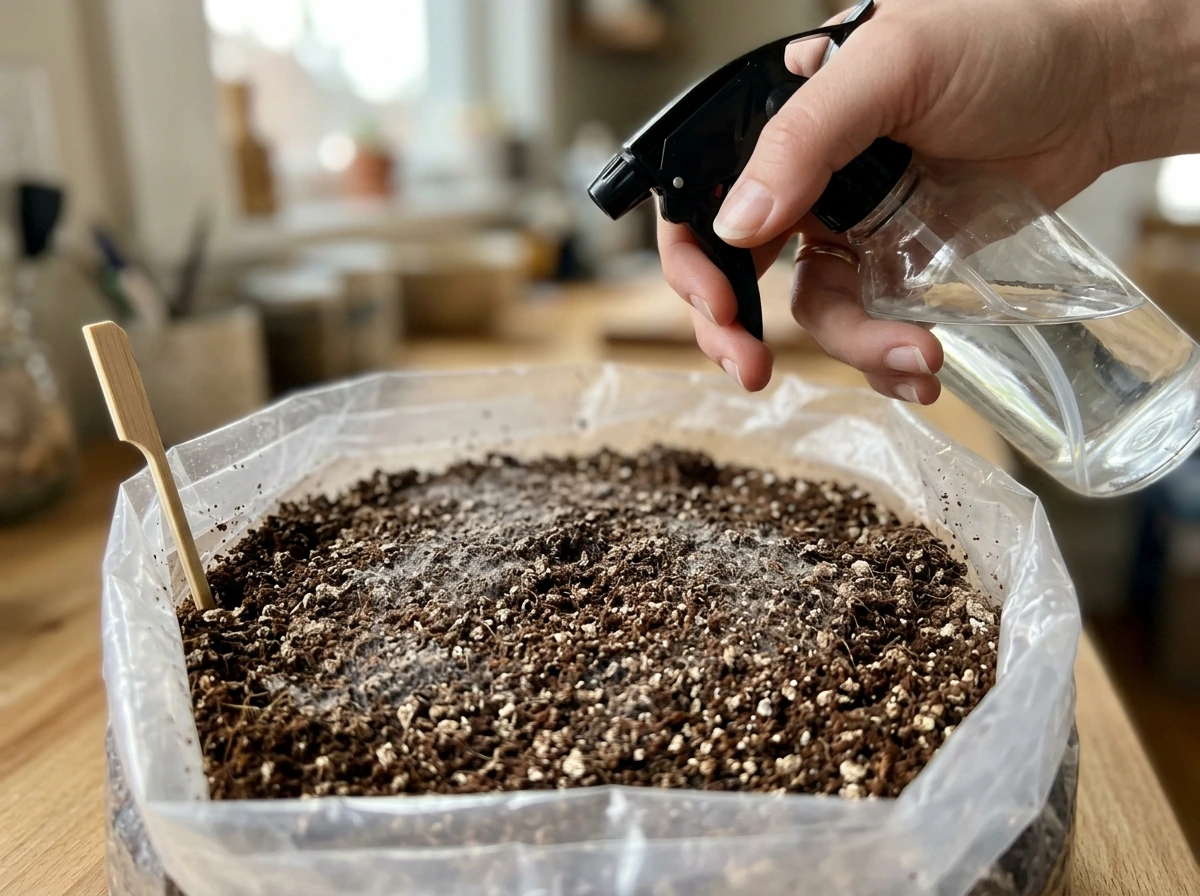
A thin white or gray fuzz on the soil surface is usually benign saprophytic mold from organic material in the growing medium, not a sign your kit is ruined. Reduce watering immediately, remove the plastic cover to allow airflow, and let the surface dry slightly. If you are growing mushrooms and see what looks like thin, web-like white threads spreading quickly across the surface, this may be cobweb mold. Try spraying the affected area with 3% hydrogen peroxide from a spray bottle. If it fizzes and retreats, it is cobweb mold, and the hydrogen peroxide treatment will usually clear it up. If the growth is green, black, or smells sour, that is bacterial or fungal contamination and the bag should be disposed of in a sealed bag.
Slow or stunted growth after germination
Slow growth after seedlings emerge is almost always a light or temperature problem. Make sure seedlings are getting at least 6 hours of strong light daily. If they are getting plenty of light and still look pale or slow, the growing medium may be depleted. Try introducing a half-strength liquid fertilizer once seedlings have their second set of leaves.
Overwatering and waterlogged soil
Signs of overwatering include yellowing lower leaves, a sour smell from the soil, and visible water pooling at the bottom of the bag. If your bag has no drainage holes, tilt it gently to pour off excess water. Let the soil dry down before watering again. Going forward, wait until the top inch of soil is dry before adding more water.
Pests (fungus gnats, aphids)
Fungus gnats are the most common indoor grow bag pest. Their larvae live in the top layer of moist soil and damage roots. The fix is to let the surface of the soil dry out between waterings, which breaks the gnat life cycle. Yellow sticky traps placed near the bag catch adults. For aphids on herb plants, a gentle spray of diluted dish soap and water (a few drops of soap per quart of water) applied directly to the insects works well. Avoid chemical pesticides on edible herb kits.
Mushroom mycelium is not spreading
If you have a mushroom bag and the white mycelium has stopped spreading or looks patchy, the most likely causes are temperatures that are too cold, the bag being moved or disturbed too often, or contamination. Keep the bag at a stable 68 to 72°F during colonization and resist the urge to open or squeeze it. Patience is the main tool here. Colonization slows significantly below 65°F.
What success looks like, when to harvest, and how to clean up
Seed and herb kits: timeline and harvest
Most herb seeds germinate within 7 to 21 days depending on species and temperature. Basil and oregano typically sprout in 7 to 10 days. Tomatoes take 7 to 14 days. Once seedlings are 4 to 6 inches tall with multiple sets of leaves, you can begin harvesting by snipping the top third of stems. This encourages bushier growth rather than a single tall stalk. Regular harvesting keeps herb plants productive for weeks to months.
When plants start flowering heavily (especially basil), the flavor of leaves changes and the plant is signaling the end of its productive period. At this point, you can either remove flower buds to extend the harvest window or let the plant go to seed and consider this cycle complete. When you are done, empty the bag into a compost bin, rinse the bag if it is reusable, or dispose of it. Do not leave spent substrate sitting in a closed bag as it can harbor mold.
Mushroom bags: flush timeline and cleanup

After you open the bag for fruiting, expect to see small pins forming within 5 to 14 days under proper conditions. A full flush of mushrooms is typically ready to harvest within 7 to 10 days of pinning, depending on species. Harvest by twisting mushrooms at the base rather than cutting them, which leaves less plant material to rot. Most bags are capable of producing 2 to 4 flushes before the substrate is exhausted. Between flushes, soak the block in cold water for a few hours to rehydrate it, then return to your regular misting routine.
You will know the bag is done when pins stop forming after a rehydration soak or when green, black, or pink mold appears on the substrate, indicating it is fully colonized by competing organisms. At that point, remove the spent block, seal it in a trash bag, and dispose of it. Rinse the outer bag if it is reusable plastic. A small but satisfying option: spent mushroom substrate makes excellent garden compost.
The most important thing to take away from all of this is that Magic Grow bags work best when you slow down at each step, check what your specific label says, and respond to what you actually see in the bag rather than following a rigid schedule. The kit is designed to do most of the work. Your job is to get the environment right and not overthink the watering.
FAQ
My Magic Grow bag label conflicts with the steps I find online. What should I follow?
Follow the label attached to your exact brand and model for things like water amounts, timing, and whether your kit includes a hydration step. If the online guidance contradicts the label, treat the label as the decision rule. When in doubt on watering, check soil moisture by feel (top inch damp, add none; top inch dry, add a small amount) instead of using a fixed calendar schedule.
How can I tell if I’m watering too much or not enough in a sealed bag?
Use a two-signal check: finger test depth (about 1 inch) and any signs of pooling or sour odor. If the surface is wet and you see water collecting, pause watering and let the surface dry slightly before trying again. If the top inch is dry and seedlings look droopy, add water slowly around the edges in small doses, then re-check in 12 to 24 hours.
Should I water directly onto seedlings or only around the edges?
For seed-starting and herb kits, pour or apply water slowly around the edges of the bag or mist the surface lightly, so you don’t dislodge small seeds or keep stems constantly wet. Direct soaking where seedlings sit increases damping-off risk. If you accidentally overshoot, stop watering and open up airflow where possible, then reassess with the finger test.
What do I do if seeds won’t germinate but the soil seems moist?
Re-check the three biggest causes: soil temperature (below about 60°F often stalls germination), planting depth (many seeds need light and should barely be covered), and surface drying before sprouts (a brief dry-out can kill viability). If you re-mist and re-cover, keep the top lightly moist, not saturated, and avoid repeatedly opening the bag during the germination window.
My seedlings are tall and thin (stretching). Is that always a light problem?
Etiolation is usually light deficiency, but temperature swings can worsen it. Move them closer to the light source or lower the LED height, and also keep them away from cold drafts or heater blasts that encourage fast, weak growth. If stems are leaning, rotate the bag daily so growth stays even rather than one-sided.
Can I fertilize earlier than 3 to 4 inches tall if growth looks slow?
It’s usually better to wait. Fertilizer too early can burn delicate roots and salt-build-up can worsen water stress in enclosed bags. If you already passed the second true-leaf stage and growth is still pale or sluggish, switch to half-strength fertilizer on the schedule, about once every 10 to 14 days, and keep watering consistent based on moisture.
How do I handle mold-like fuzz on the soil, is it always bad?
Thin white or gray fuzz that stays as a light coating is often benign mold from organic material. Reduce watering immediately and improve airflow by removing any plastic cover (if your kit allows it). If fuzz spreads into fast, web-like threads or you see clear signs of contamination (strong sour smell, green/black growth), treat it as a problem and follow a disposal-first approach for safety.
What’s the right way to treat cobweb mold in a mushroom bag?
Target it early and locally. Spray the affected area with 3% hydrogen peroxide and watch for fizzing and retreat. Continue misting for moisture needs, but avoid soaking. If you see persistent spread, or if mold color changes to green, black, or pink, it may be contamination rather than cobweb mold, and you should plan to remove and seal the bag rather than trying repeated peroxide applications.
My mushroom pins shriveled or stalled right after I opened the bag, what causes that?
Shriveling pins typically point to surface drying or unstable conditions. Keep the exposed surface lightly misted, and increase moisture gently rather than over-soaking the substrate. Also focus on gentle fresh-air exchange during fruiting, because stagnant damp air encourages contamination that can stall development.
Is it normal to see fungus gnats indoors with these grow bags?
Yes, they are common when the top layer stays wet. Break the cycle by letting the top inch dry between waterings, use yellow sticky traps to reduce adults, and avoid misting more than necessary. For edible herb kits, skip chemical pesticides and instead rely on drying cycles plus traps.
Can I reuse the bag after harvesting herbs or vegetables?
It depends on the bag material. If it is marketed as reusable and the instructions allow rinsing, empty it into compost, then rinse and dry thoroughly before storing. Avoid leaving spent medium in a sealed bag, because trapped moisture can create mold and odors and attract pests later.
How many flushes should I expect from a mushroom grow bag, and when should I stop?
Many bags produce multiple flushes, often around 2 to 4, depending on species and your moisture and fresh-air balance. Stop when pins stop forming after a rehydration soak, or when competing mold colors appear (green, black, or pink). At that point, seal and dispose to prevent spores spreading.
What’s the fastest way to troubleshoot if my kit suddenly “goes wrong”?
Do a quick audit in order: temperature, moisture, light (for seedlings), and airflow (for mushroom fruiting). Most failures map to one of these, and fixing the environment usually beats adding new products. If you can, adjust only one variable at a time so you can tell what helped, and keep comparing to what the label says for your specific model.